
Hello crafty friends! Its been a while over here on my blog so I thought I would pop over and let you know how I created these fun and easy halloween cards!
Here is a list of supplies I used to create this card…
- Paper
- Embossing Folders
- Distress Sprays
- Stamp Set
- Pretties
- Tools
- Simon Says Stamp Tape Dot Runner
- Simon Says Stamp Embossing Ink
- Ranger Liquid Platinum Embossing Powder
- Teflon Bone Folder
- Gina K connect Glue
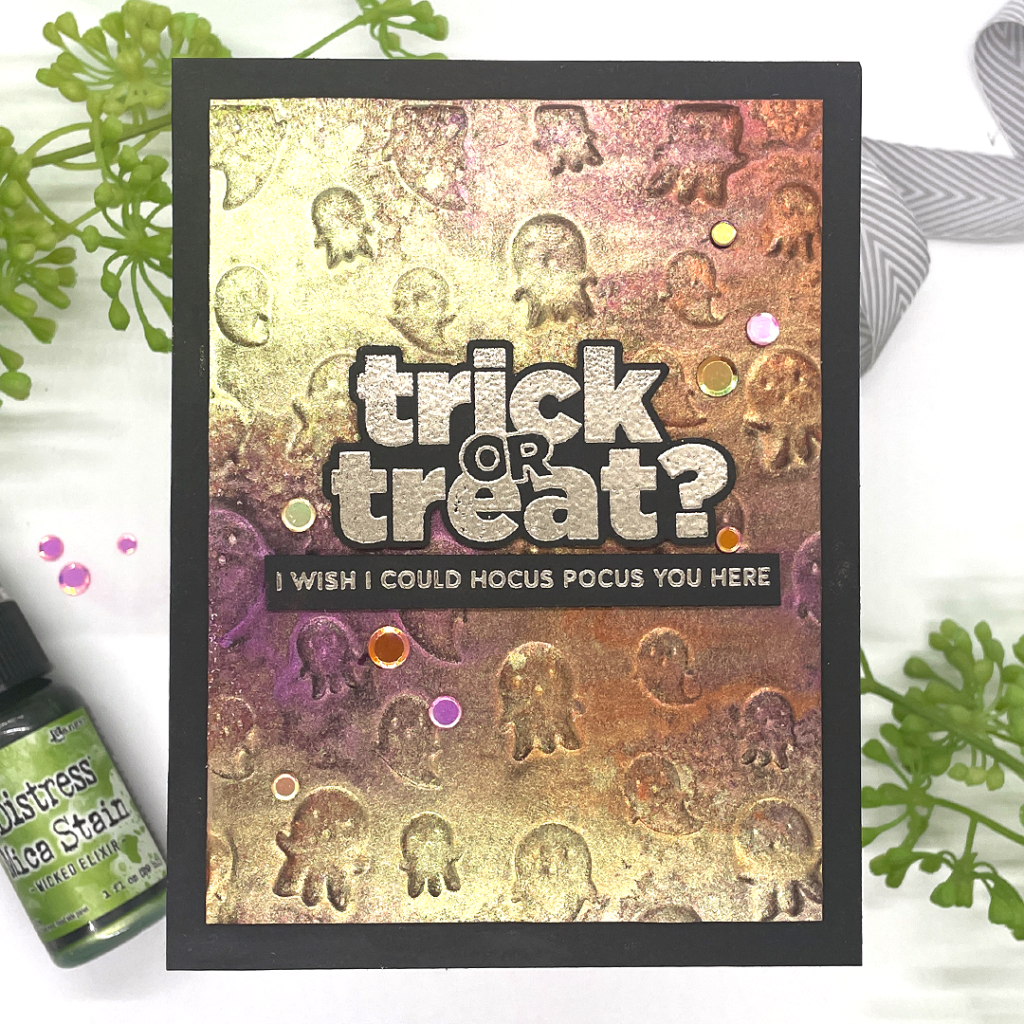
Lets start with the adorable ghost card. I started by embossing a A2 sized panel in the Simon Says Stamp Embossing Folder CUTE GHOSTS. I used my Gemini for this and let me tell you. It has been a labor of love trying to find the right sandwich that won’t warp the embossing folders. I finally found that what words best for me is a clear cutting plate and one sheet of 80lb cardstock. If the design isn’t quite deep enough then I send it back through with another sheet of paper.
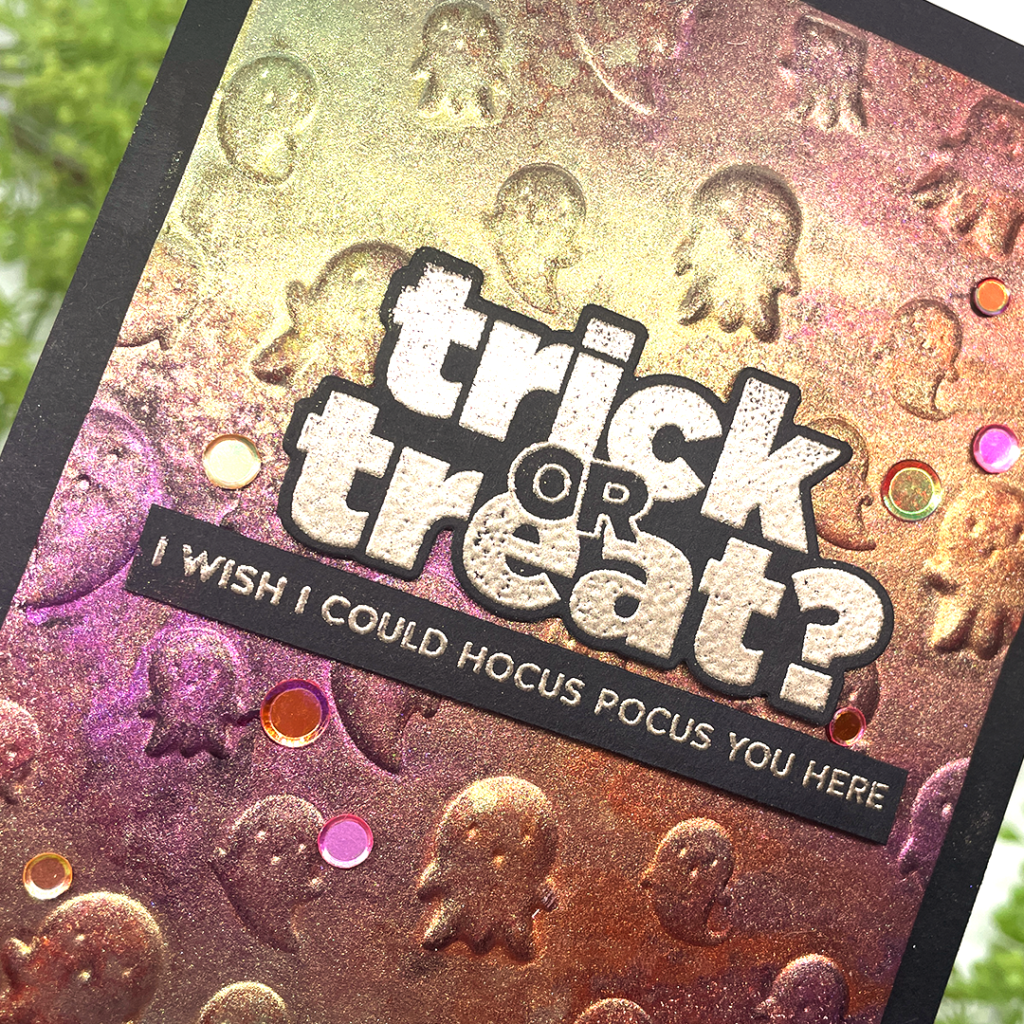
Once I had the design perfect, I grabbed my trusty splat box… (a Simon Says Stamp card kit box with a paper towel in the bottom) and the Mica Sprays in Wicked Elixer, Fortune Teller and Burning Ember. I began spritzing until I was completely happy with the results. I left the panel to dry and boy when I returned, I GASPED. These products are 100% a must have. The start off dark and then when the dry back they are beautifully blended and shiny!
I cut the panel down to 3.75in X 5 and backed it with a black card stock. I kept it simple to allow that background to be on display by adding a simple sentiment from the CZ Design Stamps and Dies HALLOWEEN PEOPLE set and some simple confetti sequins.
Up next, I followed the same process with the first for embossing but I used the Simon Says Stamp Embossing Folder GEOMETRIC LATTICE. I then grabbed the other three colors from the Mica Spray packs in Decayed, Harvest Moon and Iron Gate. I spritzed until I was happy and walked away. When I came back, I wanted a little something extra, so I grabbed my Distress Oxide Spray in Patina and unscrewed the cap and flicked some extra onto the panel.
I followed the same finishing steps as the previous card and viola!
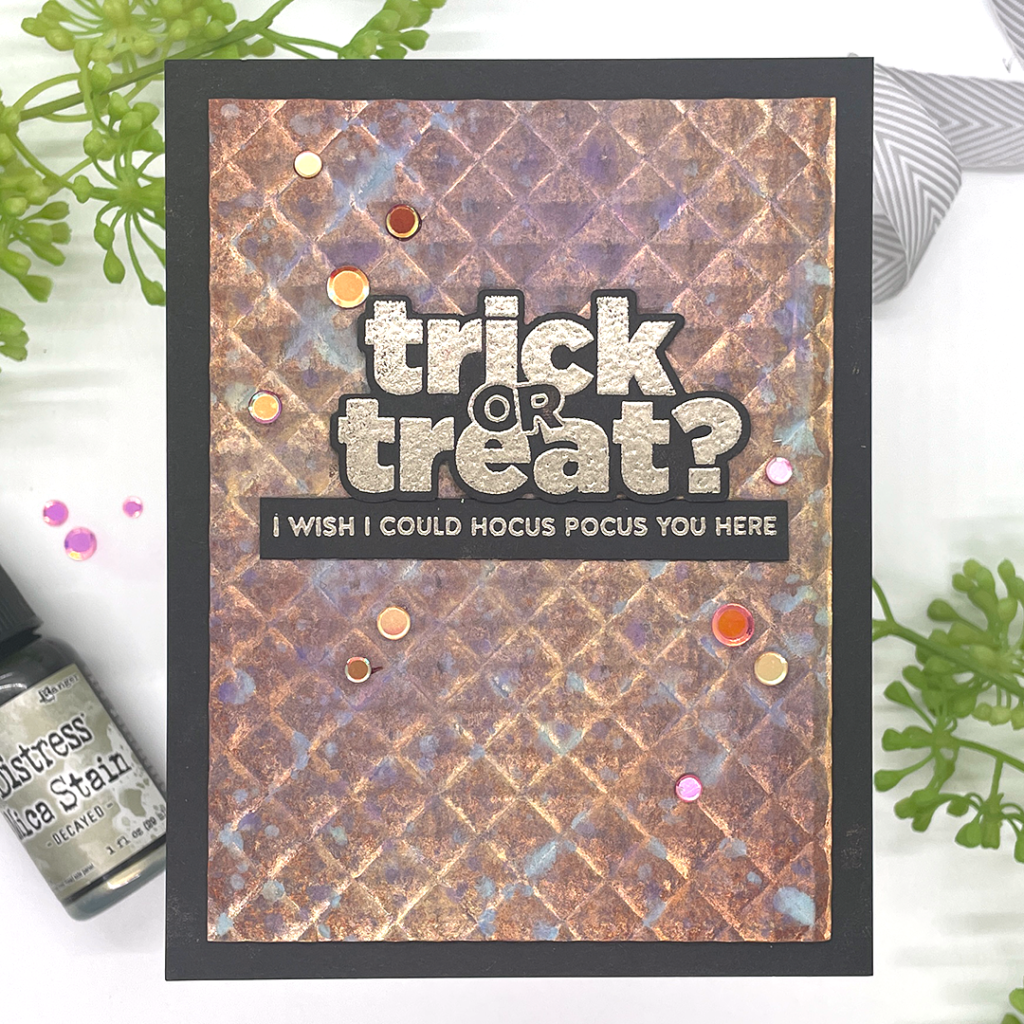
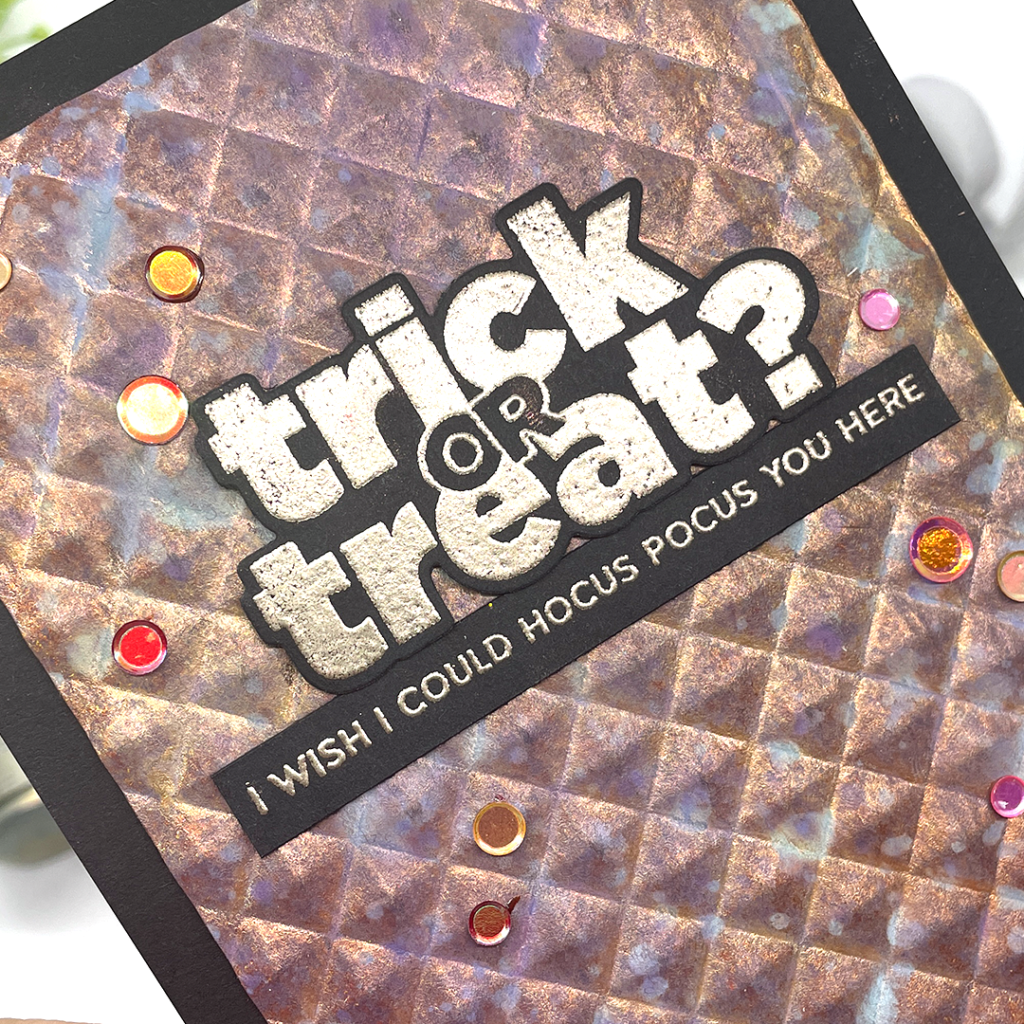
I love how the top card is shiny and everything sparkly, while the bottom card with the added patina, truly achieved a Patina type texture.
Let me know which card is your favorite below!