Hello Crafty Friends!
I have another post for you today! I am playing with Gloss Sprays and Yupo Paper again. I was all set to bring a video to you for this card but sadly, due to technical issues, I no longer have one. But I have many cards on my Instagram using these gloss sprays so I invite you to check it out!
- Paper
- Dina Wakley Gloss Sprays
- Stamps
- Dies
- Ohuhu Markers
- Embossing Folder
- Pretties
- Tools
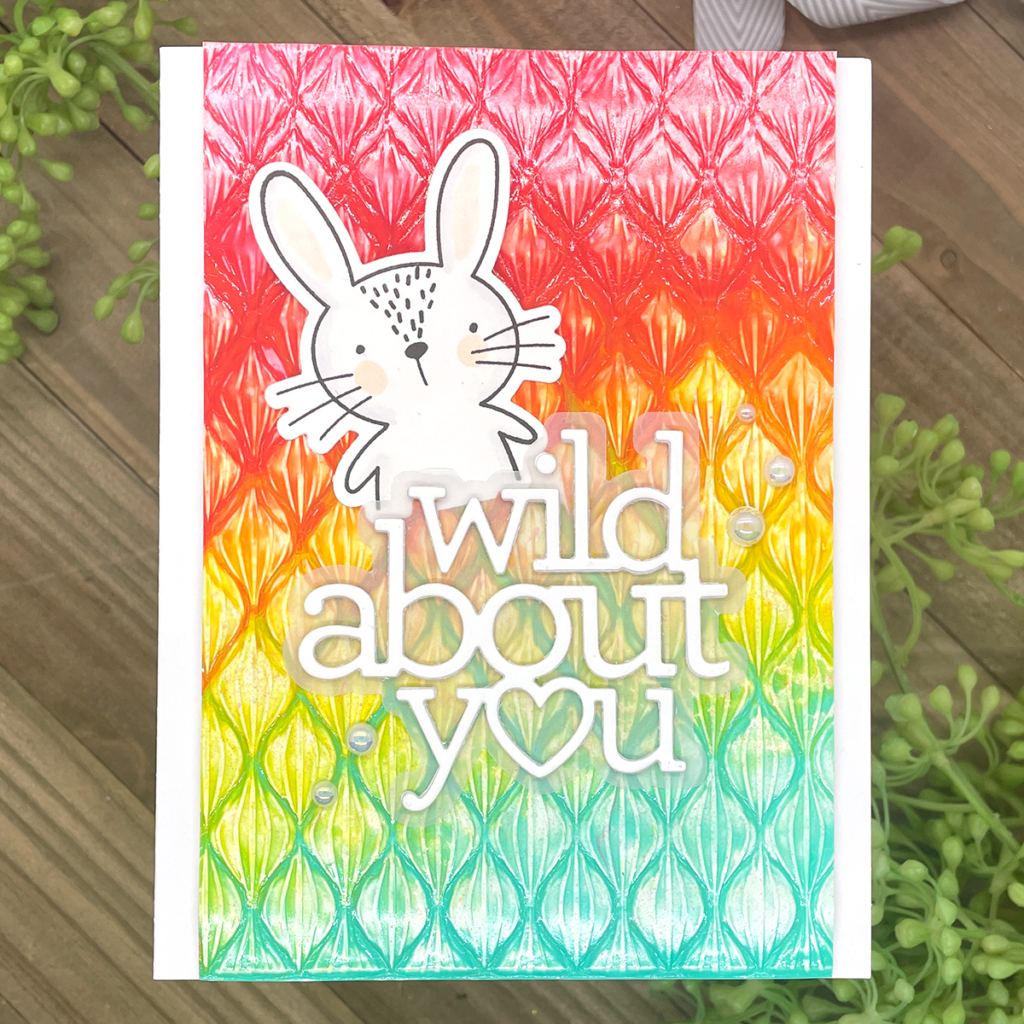
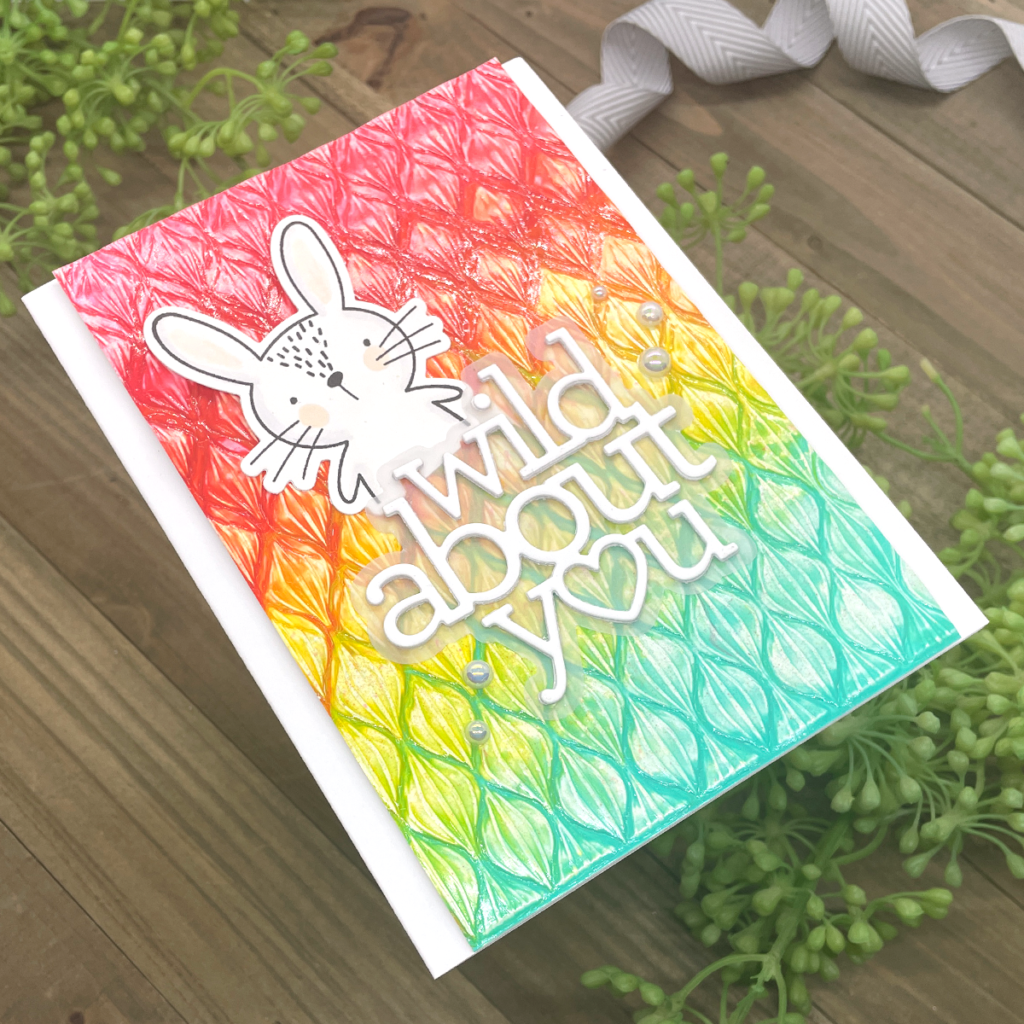
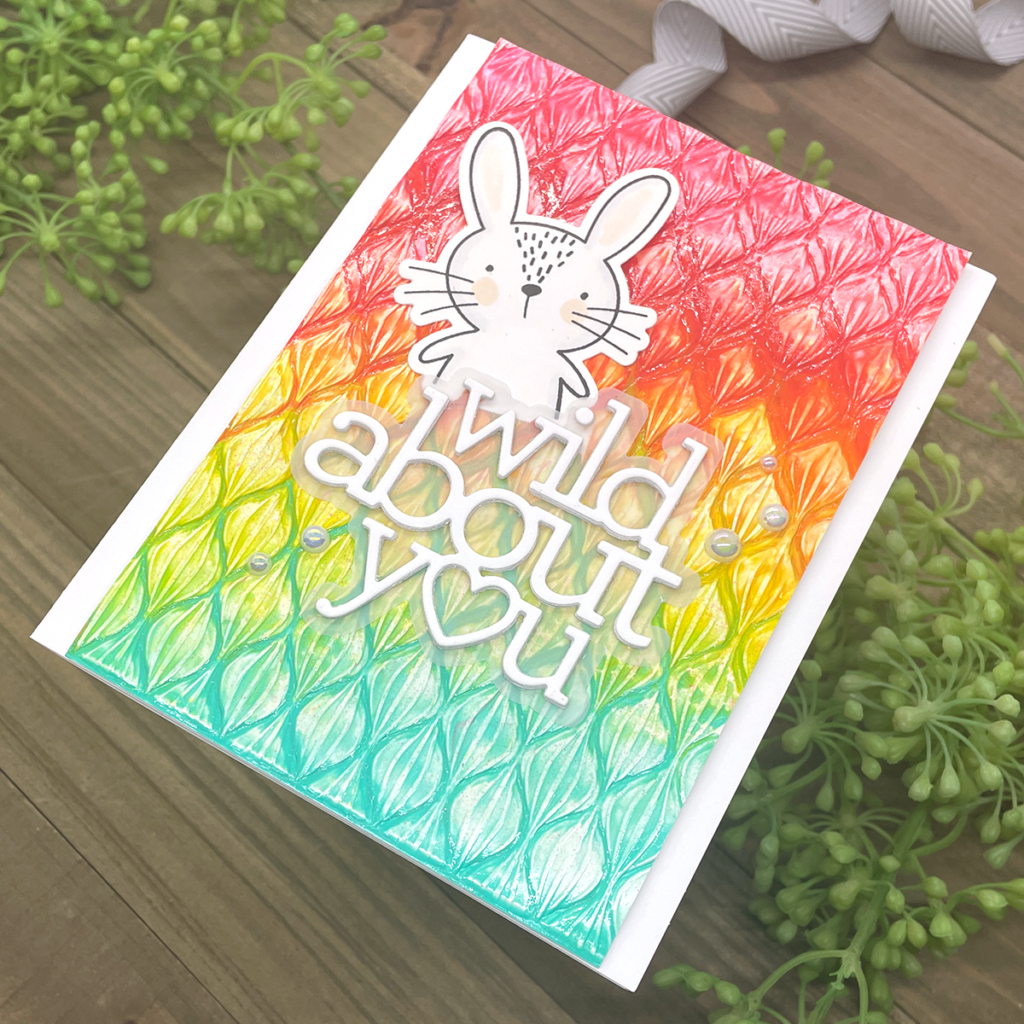
I started this card by cutting down the Yupo paper to an A2 size (4.25 in x 5.5 in). I then ran it through the Spun Glass embossing folder using my Gemini machine. When I was done, I grabbed my trusty spray/splat box (which is an only card kit box with some paper towels in it) and went to town using the gloss sprays. I knew I wanted a rainbow look but instead of using every color of the rainbow, I wanted to limit the amount of sprays and use the over spray to create the in between. I started with Magenta, then Ruby, followed by Lemon and then Turquoise. The trick to these sprays is to heat set them once you have achieved the amount of mixing that you like. Be sure to heat set in a well ventilated area as I did notice a slight smell while doing so.
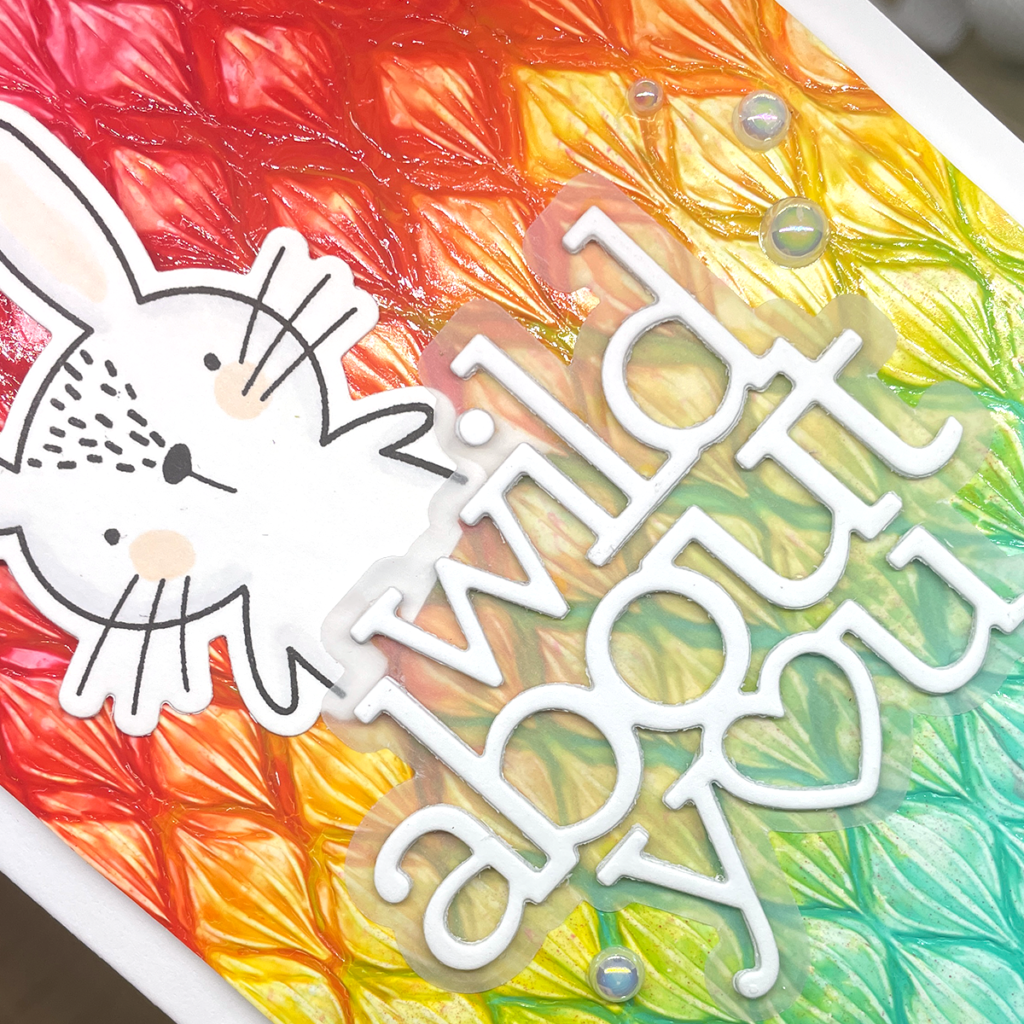
Once the panel was dry, I set it aside and started my coloring. I used a very simple color palette for the bunny. This is my go to for white images. I pick a warm gray to add some dimension and then using the colorless blender I pull that gray into the image to soften the harsh line. Easy peasy coloring! I am NOT a complicated colorist so I enjoy a simple approach.
I used the coordinating dies to cut this adorable bunny out and then got to work cutting my sentiment. I love a stacked sentiment so I cut it out three times and glued them together.
When you have a gorgeous panel but don’t want to cover it with a shadowed sentiment, I recommend using vellum to let that background come through but offer a separation to give that sentiment a chance to shine. While I am an over user on adhesive, the trick is to make sure your not using too much glue on tghe back of the cardstock sentiment because it will show on the vellum if it squeaks out.
I trimmed the background panel down to 3.75 in x 5.5 in to help create a border to let that background pop. I also used Foam Tape on the back to create dimension. Once I had the panel on the base, I added the sentiment by applying glue dots to the parts of the white sentiment you could see through the vellum. Once I had the sentiment die place, I realized I wanted to tuck the Rabbit behind it, so I quickly added Foam Squares to the ears and liquid Glue to the bottom and tucked him in. Finished it off with some pearls!
Thanks for stopping by!