
Hello Crafty Friends! I have a new video for you today where I take a trio of Simon Says Stamp’s Pawsitively Saturated Ink and show you how they blend, as well as adding some other colors for some unique color blended combos!
For these panels I used…
- Paper
- Simon Says Stamp – MEGA THICK WHITE CARDSTOCK 130# (my favorite for ink blending!)
- Pawsitively Saturated Ink
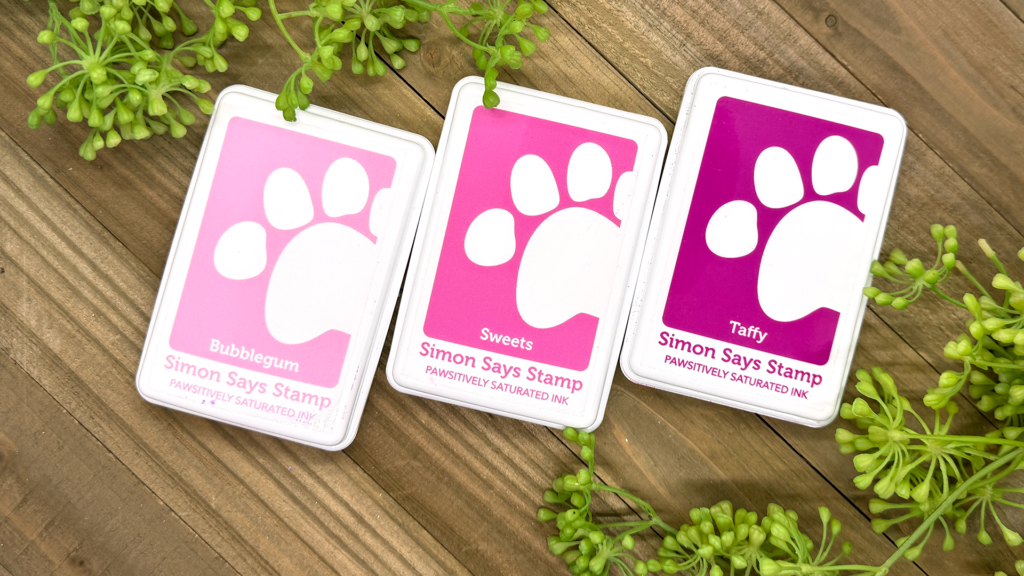
- Trio – Bubblegum, Sweets, Taffy
- Additional Inks Used:
- List to all of Simon Says Stamp Pawsitively Saturated Inks
- Brushes
Tips, Tricks and Opinions
- Paper, paper, paper! Its all about a smooth surfaced paper with Dye inks. I use the same paper for both my Dye and Oxide inks, but I find that Oxides are a little more forgiving on paper due to the pigment quality of the ink. However, Dye inks thrive on a smooth surface. Simon Says Stamp 130 lb cardstock is my favorite. Want to get serious about ink blending – your going to need to invest in a good paper.
- Brushes vs. Foam Blending Tools – My opinion, brushes all the way! I found that I can vary the amount of ink I lay down better with a brush, especially when I hold the brush my “signature” way.
- Trick – Do you have an oil spot your can’t cover? Use a Splatter/Spatter of water to create more interest on your inked panel.
- Tip – Layer lite! You can always add more ink to your blending, you however cannot remove too much ink. So light hand when blending.
- Tip – Be sure to tap off your brush after loading the color to avoid having brush strokes on your paper
- Opinion – Can you mix Simon’s original inks vs. their Pawsitively Saturated inks (one is water reactive and the other is not) on the same brushed. I say – Yes! I have both lines and use the same brushes for each, however, I can understand why people do not. I currently haven’t experienced an issue between the two and used them blended together. This card is a perfect example of using both lines. together for a seamless blend.
Please watch the video and let me know if you learned something new or what your favorite color combo was!
Please follow and like us: